2.2.1. NS3 Installation on Ubuntu 1804
I’m going to choose all-in-one package and install NS3 on Ubuntu 18-04.
2.2.1.1. Steps
2.2.1.1.1. Requirements
Ubuntu 18.04 LTS https://ubuntu.com/download/desktop/
Memory >= 64MB (recommend 1024MB)
Harddisk >= 12GB (recommend 15GB+)
2.2.1.1.2. Install Prerequests
$ sudo apt-get install gcc g++ python python3 python3-dev qt5-default python3-setuptools git mercurial gir1.2-goocanvas-2.0 python-gi python-gi-cairo python-pygraphviz python3-gi python3-gi-cairo python3-pygraphviz gir1.2-gtk-3.0 ipython openmpi-bin openmpi-common openmpi-doc libopenmpi-dev autoconf cvs bzr unrar gdb valgrind uncrustify doxygen graphviz imagemagick python3-sphinx dia gsl-bin libgsl-dev libgsl23 libgslcblas0 tcpdump libxml2 libxml2-dev cmake libc6-dev libc6-dev-i386 libclang-6.0-dev llvm-6.0-dev automake python3-pip vtun lxc uml-utilities libboost-signals-dev libboost-filesystem-dev -y

$ pip3 install --user cxxfilt
If you want to enable ssh service in Ubuntu, you need to install openssh-server
$ sudo apt install openssh-server -y
2.2.1.1.3. Download the all-in-one package
The latest release of NS3 can be found via https://www.nsnam.org/ .
Up to 03/15/21, the latest version is ns3.33.1, and the downloading link can be found via https://www.nsnam.org/releases/ns-3-33/ .
Up to 03/09/20, the latest version is ns3.30.1, and the downloading link can be found via https://www.nsnam.org/releases/ns-3-30/ .
After success downloading, you receive a file named ns-allinone-3.30.1.tar.bz2 (or similar).
Untar the file by either executing tar -xvf ns-allinone-3.30.1.tar.bz2 or right-click the file and select extract here.
2.2.1.1.5. Build NS3
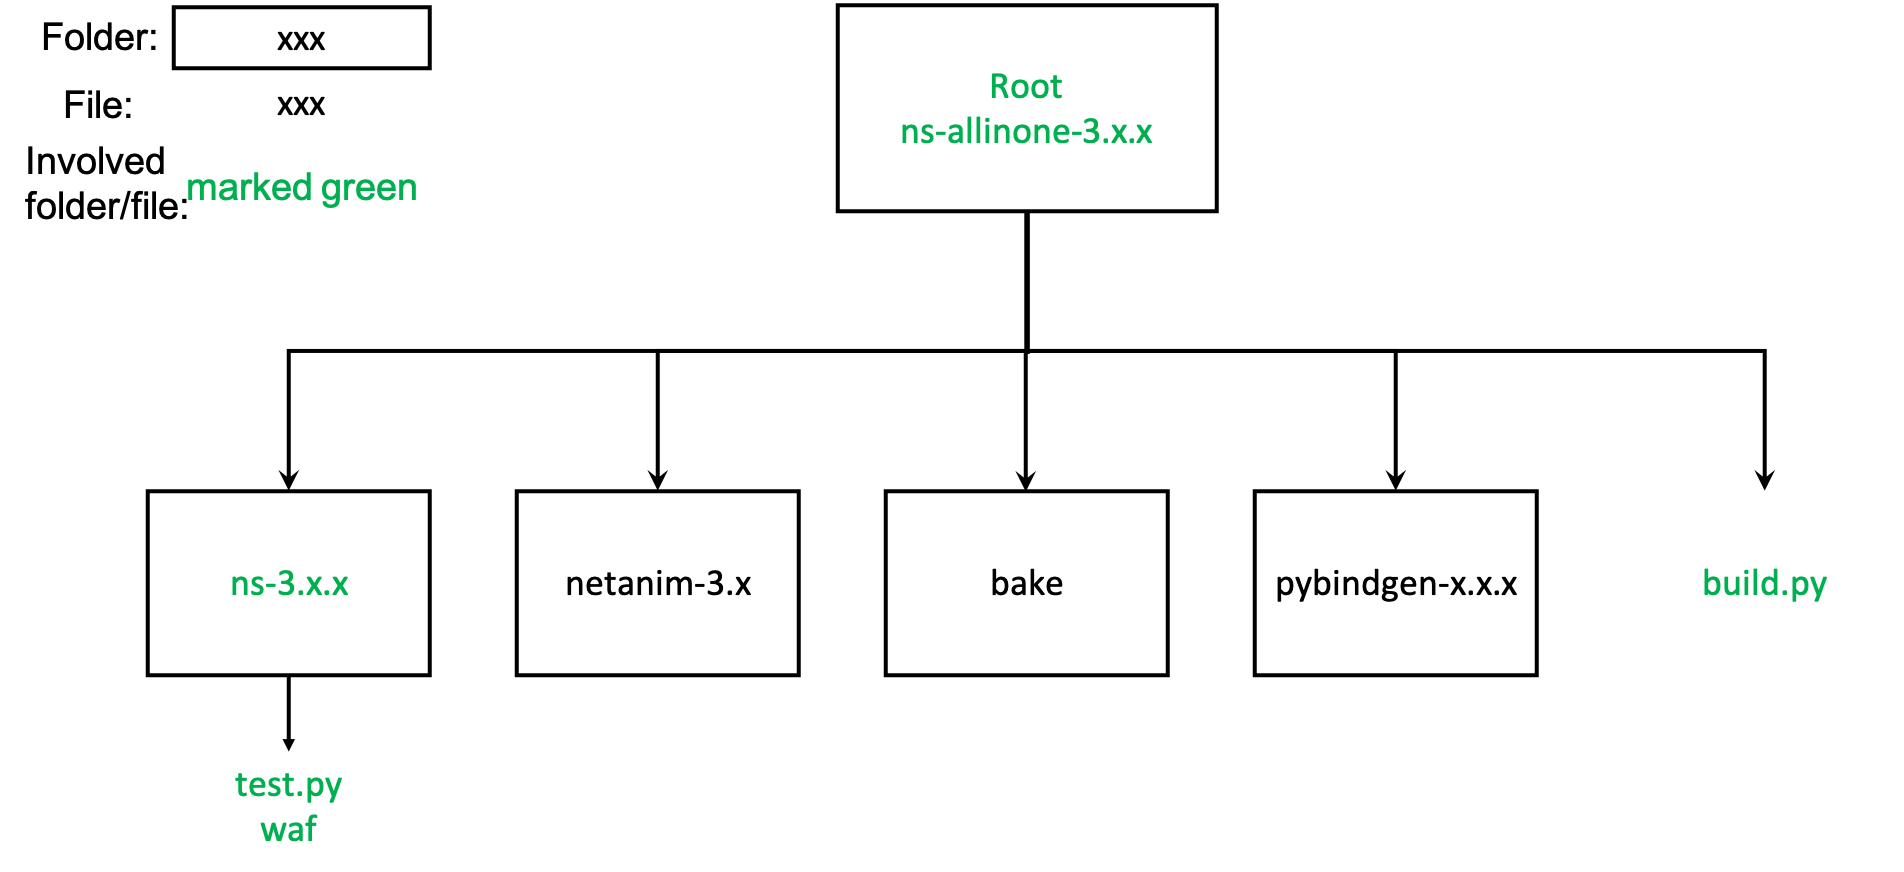
Open a terminal, cd to the extracted folder and use the build.py to build.
$ cd ns-allinone-3.30.1/
ns-allinone-3.30.1$ ./build.py --enable-examples --enable-test  # the build.py file can be executed directly
You should be able to see lots of compiling messages and the compiling process may last as long as 30 minutes. The success message reads as

2.2.1.1.6. Configure NS3
Cd to ns-3 source code folder, configure NS3 and run batch test
ns-allinone-3.30.1$ cd ns-3.30.1/
ns-allinone-3.30.1/ns-3.30.1$ ./waf --build-profile=debug --enable-examples --enable-tests configure
ns-allinone-3.30.1/ns-3.30.1$ ./waf
ns-allinone-3.30.1/ns-3.30.1$ ./test.py -c core
You are expected to see messages reading as “PASS XXXXXXXX”. Make sure that no test crashes.
2.2.1.1.7. Hello-World Example
ns-allinone-3.30.1/ns-3.30.1$ ./waf --run hello-simulator
A success running message reads as

